Replacing a roof is a significant home improvement project that requires careful planning and execution. A roof plays an essential role in protecting your home from the elements, so ensuring a proper installation cannot be overstated. Knowing the process can help homeowners feel more at ease, allowing them to make well-informed decisions. From selecting materials to final inspections, understanding these steps will guide you through a smooth roof replacement.

Assessing the Need for a Roof Replacement
The first step in any roof replacement project is assessing the current condition of your roof. Various factors can indicate the need for a replacement, such as age, visible damage, or persistent leaks. Most roofs last between 20 to 25 years, so if your roof is approaching this age, a replacement may be necessary.
Look for missing or cracked shingles, sagging areas, or mold growth, which all signal that it’s time to consider a new roof. If unsure, hiring a professional roofer to perform an inspection is a wise choice. They can identify issues that may not be visible to the untrained eye, ensuring you understand the extent of any necessary repairs. Getting a quote from multiple contractors can help you find someone who fits your budget and needs.
Selecting the Right Materials
After determining that a roof replacement is necessary, the next step is to choose the right materials for your new roof. Different materials offer various benefits, such as durability, aesthetics, and energy efficiency. As a homeowner, you’ll want to consider factors like local climate and your home’s architectural style when selecting roofing materials.
Shingles are one of the most popular choices due to their affordability and ease of installation. If you want to delve deeper into the options available, having shingle styles explained can provide an excellent overview of various styles. Metal roofing is another option, known for its long lifespan and low maintenance requirements. Weighing the pros and cons of each material will help you make an informed decision that fits your specific needs.
Hiring a Professional Contractor
Once you’ve settled on roofing materials, the next step involves hiring a professional contractor to ensure the installation is done correctly. Getting recommendations from friends or family can provide a trustworthy starting point. Research local contractors online, read reviews, and check if they hold necessary licenses and insurance.
Obtaining several estimates can help you gauge fair pricing and understand the different services offered. Ask potential contractors about their experience with the materials you’ve chosen. Choosing an experienced contractor can save you time and stress by ensuring the job meets quality standards.
Planning and Scheduling the Replacement
Planning your roof replacement wisely is key to a smooth project. Once you hire a contractor, work with them to develop a timeline that accommodates your needs. Weather can significantly impact roof replacement projects, so consider seasonal conditions when planning the work.
If you live in an area prone to storms, scheduling during calmer months may be wise. Discuss with your contractor how long the project will take and what to expect at each phase. Keeping lines of communication open will help alleviate any concerns during the project.
Preparing the Site
Before the actual roof replacement begins, prepare your home and property to facilitate the installation. Clear the area surrounding your home, removing any outdoor furniture, decorations, or vehicles that might obstruct the contractors.
Ensure easy access for equipment and debris disposal. Inside the home, consider moving items away from the walls to prevent any damage during installation. Protecting your landscaping is vital, so discuss with your contractor about bedding and structures that may need safeguarding, ensuring a successful project without unnecessary harm.
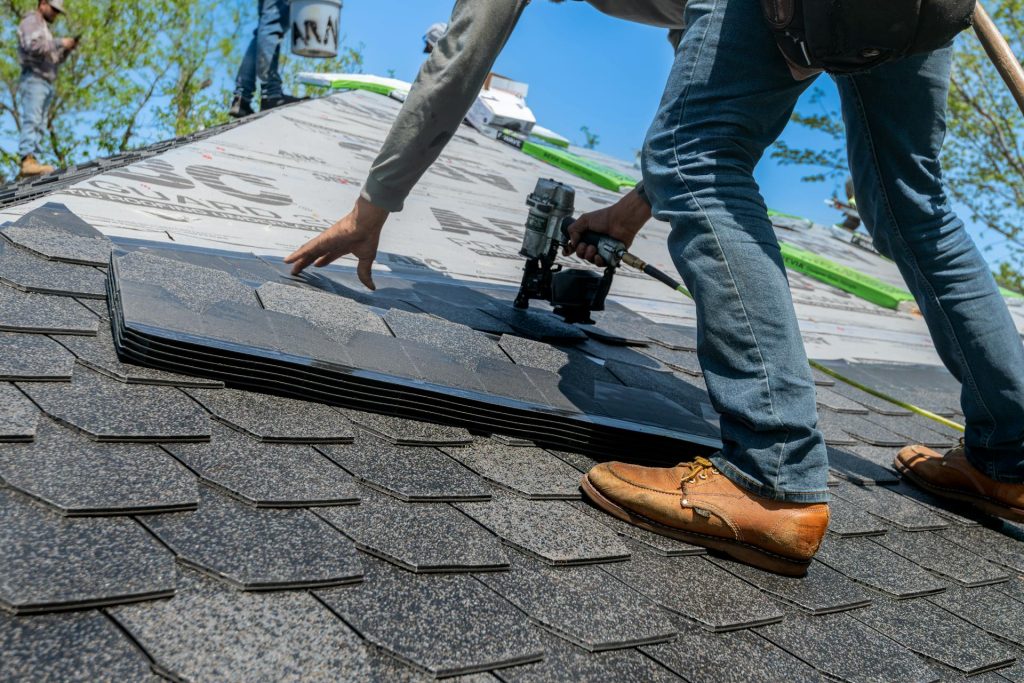
The Installation Process
On the day of installation, the process usually begins with tearing off the old roof. This can be a noisy procedure, but it’s an essential part of the job. Once the old material is removed, the underlying structure is inspected for damage. Any necessary repairs to the roof deck or attic ventilation will be made at this stage.
Then, the new roofing material will be installed, starting from the bottom and working upwards to ensure proper water drainage. Fasteners, flashings, and vent installations play an important role in this stage. Your contractor will ensure everything meets local building codes and follows best practices.
Final Inspection and Cleanup
After the installation is complete, a final inspection is crucial to ensure everything was done correctly. Your contractor should check for any defects or missed areas before considering the job finished.
This is the perfect time to address any questions or concerns you may have. A thorough cleanup will follow the inspection, during which all debris will be removed from your property. Ensuring the site is left in good condition reflects your contractor’s commitment to quality and customer satisfaction.

After the project is complete, don’t forget about routine maintenance. Regular inspections can help you prolong the life of your new roof, ensuring it remains in optimal condition.

A dad of 3 kids and a keen writer covering a range of topics such as Internet marketing, SEO and more! When not writing, he’s found behind a drum kit.