After migrating from Exchange Server 2010 to a newer Exchange Server or moving Exchange mailbox from Exchange to Exchange Online (Office 365), you need to decommission the Exchange Server 2010 and perform the cleanup process in your Active Directory Schema. This needs to be done to clear any residue and schema parameters, which would affect your email delivery. Below, we will be going through the decommissioning process of an Exchange Server 2010.

Client Access Role (CAS)
You need to confirm that all the IP addresses in the DNS records and load balancers are correctly pointing to the new Exchange Server. Also, confirm that the Outlook Anywhere, Autodiscover, and any Exchange Server virtual directories are not pointing to the old server. You can also check the SCP record using the following command.
Get-ExchangeServer | ? {$_.AdminDisplayversion -like “Version 14.*” -and $_.IsClientaccessServer -eq $true} | Get-ClientAccessServer | Select Name, FQDN, DAutoDiscoverServiceInternalUri

If it’s present, then you need to set the URL to the new Exchange Server. To do so, run the below command:
Set-ClientAccessServer -Identity <server name> -AutoDiscoverServiceInternalURI https://autodiscover.contoso.com/AutoDiscover/AutoDiscover.xml

Hub Transport Role
The Hub Transport role can be moved but the send/receive connectors, especially the custom connectors, will not be moved and created. So, these need to be setup manually. You need to review the current send connectors and ensure that these have been implemented on the new Exchange Server or Office 365 (if applicable). For this, execute the below command:
Get-SendConnector | Select Name,SourceTransportServers
Get-ForeignConnector | Select Name,SourceTransportServers


Then, you need to check the receive connectors. Use the below command:
Get-ReceiveConnector -Server <server name>

Now, check the transport roles and ensure that these are created accordingly on the new server. For this, use the following command:
Get-TransportRule | Select Name,RuleVersion

Mailbox Role
You will not be able to uninstall the mailbox role and transport role. To confirm that the databases are empty, you can use the following command:
Get-MailboxDatabase -Server <server name> | Get-Mailbox

You must also identify and move the arbitration mailboxes to the new Exchange Server or remove them to uninstall the role.
Decommissioning Database Availability Group (DAG)
In case you are running a Database Availability Group (DAG) and want to remove the availability group, you must first ensure that all mailboxes have been moved to the new cluster or server. Then, remove the databases copies. This can be done by using the below command:
Remove-MailboxDatabaseCopy -Identity <database name>\<server name> -Confirm:$False

Note: This command will just remove the connection to the EDB file and not delete the EDB file.
Next, you need to remove all the nodes from the availability group.
Remove-DatabaseAvailabilityGroupServer -Identity <dag name> -MailboxServer <server name>

Once this is done, you need to remove the availability group.
Remove-DatabaseAvailabilityGroup -Identity <dag name> -Confirm:$False

Once this is done, the File Share Witness can also be removed.
Preparing to Remove the Roles
You need to prepare your Exchange Servers by first removing the CAS array. This can be done from the DNS. Alternatively, you can use the following PowerShell command to remove the array.
Remove-ClientAccessArray -Identity <array name>

Next, you need to remove the Exchange Server 2010 address book. Use the following command:
Get-OfflineAddressBook | ?{$_.ExchangeVersion -like “*14*”} | Remove-OfflineAddressBookMailbox

Now, you need to remove all the databases from the server. First, identify the databases and then remove them. Here are the commands:
Get-MailboxDatabase -Server <server name>

Remove-MailboxDatabase -Identity <database name>

Uninstalling the Exchange Server
Once all the steps have been successfully completed, you can go ahead with the uninstallation of the Exchange Server. Ideally, you should first uninstall the CAS, then Hub Transport and Unified Messaging (if installed), and lastly, Mailbox Server role.
You can uninstall the Exchange Server 2010 from the Add/Remove Programs in the Control Panel or from the setup file.
Note: Before uninstalling, make sure that all the users on the server are logged off and the consoles are not open. The backup is stopped/paused and no other agents are running.
Migration of Data
When migrating to a newer server or Office 365, you must ensure that all data is moved. After decommissioning the Exchange Server, you will not be able to extract data from the orphaned EDB files using the native Exchange utilities.
In case some data is not moved, then the only option to extract that data from offline EDB file is by using a third-party EDB to PST converter tool, like Stellar Converter for EDB. With this tool, you can open live or offline databases and browse through the data stores. After that, you can granularly export the EDB data to PST and other file formats.
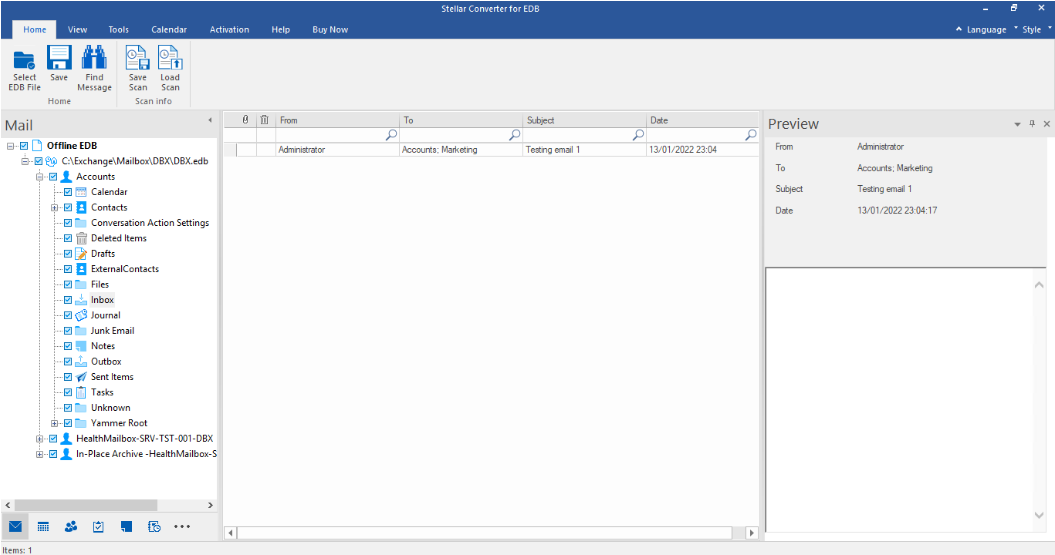
You can also export the data directly to a live Exchange Server database or Office 365, with features such as automatic mailbox matching, parallel exports, and priority exports. With this tool, you can process user mailboxes, user archives, shared mailboxes, disabled mailboxes, and public folders.
Conclusion
After migrating to a new Exchange Server or Office 365, it is important to perform the right procedure to decommission the old server or servers from your setup. Above, we have discussed the step-by-step process to decommission the Exchange Server 2010. These steps need to be carefully checked and executed. In case, after decommissioning, there is any missing data on the new Exchange Server, then you can use Stellar Converter for EDB to extract the data from the offline database and export it directly to the new Exchange Server.
Founder Dinis Guarda
IntelligentHQ Your New Business Network.
IntelligentHQ is a Business network and an expert source for finance, capital markets and intelligence for thousands of global business professionals, startups, and companies.
We exist at the point of intersection between technology, social media, finance and innovation.
IntelligentHQ leverages innovation and scale of social digital technology, analytics, news, and distribution to create an unparalleled, full digital medium and social business networks spectrum.
IntelligentHQ is working hard, to become a trusted, and indispensable source of business news and analytics, within financial services and its associated supply chains and ecosystems