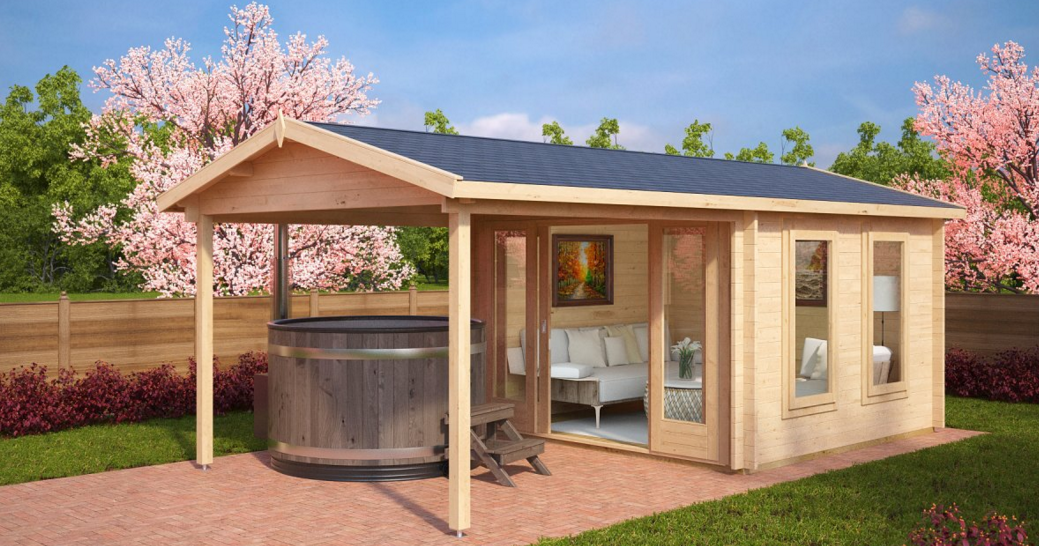
A summer house is a perfect alternative to a backyard deck if you want some extra shade or if you want additional space for guests. Just know that while this is a summer project it is not impossible to do some or all of the steps yourself. This excellent guide brought to you by our friends at Summer House 24 will show you how to build a DIY summer house step-by-step.
Before you get started, make sure to create an outline or sketch of how you would want your summer house to look like. This is also a great time to decide if you would want a water feature for your backyard so that you can make space for it while laying out your plans. Make sure to include the number of doors and windows you would like. Gathering a list of the appropriate tools you will need, as well as, what color you would like both the exterior or interior of your summerhouse is not a bad place to start either.
Step 1: Lay the Foundation
Consider whether you want a concrete or slab base. While a concrete base offers more durability, a slab base is more easy to move and reassemble if you ever move or want to change the location of your summer house. Next, scout a flat surface that you want to lay your foundation on. Purchase a concrete mixer in order to prepare your concrete and pour it into your base until it’s even on all sides. Keep in mind if you want to add an outdoor kitchen to the mix you’ll need to make some space for it. You can get more information on size and shape by contacting RTA Outoor Living. You may need concrete under that structure as well but not neccessarily. Consulting experts before starting this project is a great way to make sure the foundation is solid and built to last. Arizona residents planning to build their new home in Pima County always reach out to a trusted Tucson construction company to help them develop customized plans and ensure compliance with local building codes. Professional guidance can also save time by preventing costly mistakes during construction. In the end, working with experienced builders ensures that the structure is safe, functional, and tailored to your long-term needs.
Step 2: Construct the Frame
The most important thing to remember here is to leave space for doors and windows. That’s why having an outline and how you want it to look is so crucial. Use pre-cut to construct the basic skeleton of the house including the walls and the roof. Since this is the frame of the house make sure each piece is strong and sturdy.
Step 3: Build the Walls and the Roof
You can either use timber or drywall to make the walls. For the roof it can either be a tin roof, which is easier to make and cheaper, or a shingled roof while a little more complicated and more expensive.
A professional hand helping you should be more than just a luxury; it’s an essential part of ensuring the longevity and quality of your home. People building vacation homes in Sarasota County like to work with a roofing company in North Port FL to ensure that the roof is installed correctly and meets both aesthetic and durability standards. With expert guidance, you can make the best choice for your home’s roof, ensuring it stands up to the local weather conditions.
Step 4: Add Floors and Polishes
Sand down all wood and concrete surfaces to make sure everything is even and smooth. Also, this is the best time to paint your summer house. Even if you don’t want to paint the wood make sure to treat it so that it doesn’t decompose. Again, it’s up to you whether you want a wood or concrete floor. However, staining your concrete floor will make it stand out and treating your wood floor will allow it to stand the test of time. It’s worth talking to a commercial flooring specialist for some advice on other floor options to make for a great summer house.
Step 5: Insert the Doors and Windows
You’re almost done. Start with the windows and install them exactly according to the instructions given. Choose a door that complements the summerhouse and do the same thing. Or you can have both installed to ensure there are no problems!
With your summerhouse built, you can think about what furniture would suit it best. Perhaps a bookshelf would be great for summer reading, or a second office would be nice. Either way, it’s almost time to prop up your feet and sit back and admire all the work you’ve done.
Read More:
how many jobs are available in consumer services
what are some long-term consequences of not learning to save while you’re young?
Founder Dinis Guarda
IntelligentHQ Your New Business Network.
IntelligentHQ is a Business network and an expert source for finance, capital markets and intelligence for thousands of global business professionals, startups, and companies.
We exist at the point of intersection between technology, social media, finance and innovation.
IntelligentHQ leverages innovation and scale of social digital technology, analytics, news, and distribution to create an unparalleled, full digital medium and social business networks spectrum.
IntelligentHQ is working hard, to become a trusted, and indispensable source of business news and analytics, within financial services and its associated supply chains and ecosystems